Discover comprehensive guides for constructing wall cabinets with downloadable PDF plans․ Perfect for DIY enthusiasts, these detailed designs offer step-by-step instructions, materials lists, and 3D diagrams for various skill levels․
1․1 Overview of Wall Cabinet Designs
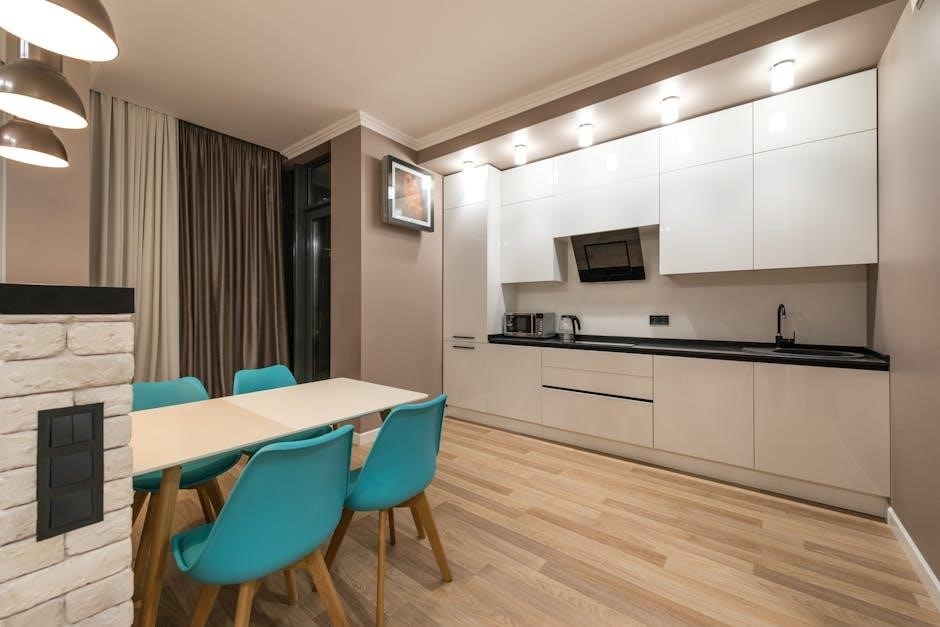
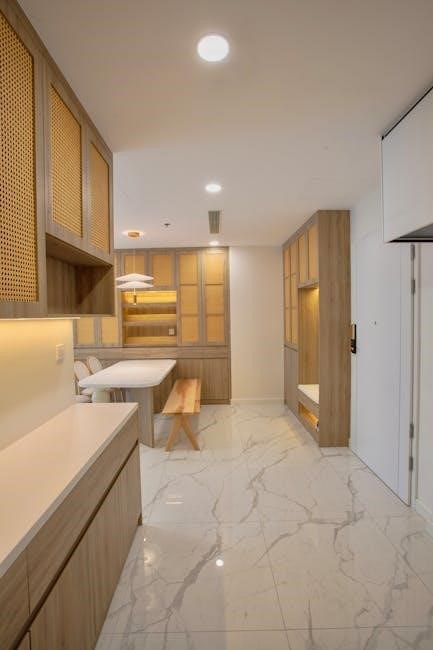
Wall cabinet designs vary from simple to complex, offering solutions for kitchens, bathrooms, and workshops․ Styles include single-door, double-door, and sliding options, with features like adjustable shelving and secure mounting systems․ Materials range from plywood to MDF, ensuring durability and aesthetic appeal․ These plans cater to diverse needs, providing functional storage while enhancing room decor with modern or classic finishes․
1;2 Importance of Using PDF Plans for Accuracy
PDF plans ensure precision and clarity in wall cabinet construction․ They provide detailed measurements, step-by-step instructions, and 3D diagrams, reducing errors․ Printable formats allow for easy reference, while comprehensive cut lists and material specifications streamline the process․ PDFs are ideal for DIY projects, offering a clear roadmap to achieve professional-quality results with minimal mistakes․
Materials and Tools Required
Constructing a wall cabinet requires plywood, screws, and hardware․ Essential tools include drills, sanders, tape measures, levels, hammers, wrenches, and clamps․ Safety gear like gloves and goggles is crucial․
2․1 List of Lumber and Hardware Needed
For a wall cabinet, you’ll need plywood or MDF for the shelves and sides, screws, hinges, and drawer slides․ Additional hardware includes shelf pins, handles, and French cleats for secure wall mounting․ Ensure all materials are measured and cut accurately for a precise fit and sturdy construction;
2․2 Essential Tools for Cutting and Assembly
Key tools include a circular saw for cutting plywood, a drill for screwing components, and an impact driver for precise assembly․ Sandpaper and clamps are essential for smoothing surfaces and securing parts․ A tape measure ensures accurate cuts, while a square guarantees alignment․ Optional tools like a miter saw or router can enhance finishes, but basic tools suffice for a sturdy wall cabinet build․
Cutting and Preparing the Plywood
Cutting plywood accurately is crucial for a precise fit․ Create clean cuts using a circular saw or jigsaw, then sand edges for smoothness․ Drill shelf pin holes for adjustable shelving and cut dados for proper alignment and structural support․
3․1 Step-by-Step Guide to Cutting Plywood
Begin by measuring and marking plywood according to your plan․ Use a circular saw for straight cuts, ensuring accuracy with a guide․ Sand edges for smoothness and drill shelf pin holes․ Cut dados using a router or hand saw for proper alignment․ Assemble sides, back, and shelves, ensuring all pieces fit seamlessly together for structural integrity․
3․2 Creating Dados and Shelf Pin Holes
Use a router or hand saw to create dados in the cabinet sides for shelves․ Drill shelf pin holes using a drill press for precision․ Ensure holes are evenly spaced and aligned for adjustable shelving․ Sand dados for smooth fit and apply wood glue during assembly․ This step ensures shelves are secure and level, enhancing the cabinet’s functionality and durability․
Assembling the Wall Cabinet
Attach the cabinet box using French cleats for secure wall mounting․ Ensure proper alignment and leveling․ Install doors and handles, then add adjustable shelving for functionality and storage․
4․1 Constructing the Cabinet Box
Begin by assembling the cabinet box using pre-cut plywood pieces․ Attach the sides, bottom, and top using dado joints for strength․ Drill shelf pin holes for adjustable shelving․ Secure the back panel to ensure stability․ Use clamps and wood glue to align edges perfectly․ Sand all surfaces before moving to the next step․ This forms the sturdy base for your wall cabinet․
4․2 Attaching Doors and Handles
Attach the cabinet doors by aligning them with the frame and securing with hinges․ Drill pilot holes for screws to avoid splitting the wood․ Install handles or knobs, ensuring they are evenly spaced and aligned with the doors․ Double-check the door alignment and movement for a smooth, even closure․ Proper installation ensures functionality and a polished appearance․
4․3 Installing Adjustable Shelving
Install adjustable shelving by drilling shelf pin holes in the cabinet sides․ Insert shelf pins into the holes and place the shelves, ensuring they are level․ Adjust the shelves to desired heights for customization․ Secure the shelves firmly to ensure stability and proper alignment․ This feature allows flexible storage solutions tailored to specific needs․

Mounting the Cabinet on the Wall
Use French cleats for secure installation․ Attach one cleat to the cabinet back and another to the wall, ensuring proper alignment and leveling for stability․
5․1 Using French Cleats for Secure Installation
French cleats provide exceptional stability for wall cabinets․ Cut two pieces of wood at 45-degree angles, attaching one to the cabinet’s back and the other to the wall․ Ensure both cleats align perfectly and are screwed into wall studs for maximum support․ This method prevents tipping and ensures a sturdy, long-lasting installation, ideal for heavy cabinets․
5․2 Ensuring Proper Alignment and Leveling
Use a spirit level to ensure the cabinet is perfectly horizontal and vertical․ Double-check alignment with the wall features, such as studs or surrounding decor․ Mark stud locations on the wall cleat and transfer them to the cabinet’s cleat for precise mounting․ Secure the cabinet firmly, ensuring it is level and plumb before tightening screws for a stable installation․

Design Variations and Customization
Explore various sizes, styles, and decorative elements to personalize your wall cabinet․ Add molding, paint, or hardware for a unique look․ Customize shelving and door designs to suit your space and preferences, ensuring functionality and aesthetic appeal․
6․1 Options for Different Sizes and Styles
Wall cabinet plans offer diverse size and style options to fit any space․ Choose from compact 18-inch designs to larger 30-inch cabinets, with single or double doors․ Styles range from modern to traditional, ensuring versatility․ Adjustable shelving and customizable features allow you to tailor the cabinet to your specific needs, enhancing functionality and aesthetic appeal in your home or workshop․
6․2 Adding Decorative Features
Elevate your wall cabinet’s appearance with decorative elements like molding, raised panel doors, or decorative trim․ Add hardware such as knobs, handles, or hinges in various styles․ Paint, stain, or finish the wood to match your room’s decor․ Optional glass doors or lighting can enhance visibility and modernize the design, ensuring your cabinet is both functional and visually appealing․
Additional Features for Functionality
Incorporate drawers, sliding doors, or adjustable shelving to enhance storage and accessibility․ These features optimize space and cater to specific needs, making your wall cabinet highly practical․
7․1 Incorporating Drawers or Sliding Doors
Add functionality with drawers or sliding doors for easy access and space optimization․ Drawers provide enclosed storage, while sliding doors save space and offer a sleek look․ Both options enhance usability and customization, catering to specific storage needs while maintaining a clean design․ Use plywood and hardware to craft these features, ensuring durability and smooth operation for years to come․
7․2 Tips for Maximizing Storage Space
Optimize your wall cabinet’s storage by incorporating adjustable shelves, baskets, and hooks․ Utilize vertical space with tall designs and compartmentalize items using dividers․ Consider adding drawers for frequently accessed items and use sliding doors to save floor space․ These strategies ensure efficient organization and accessibility, making the most of your wall cabinet’s capacity while maintaining a clutter-free appearance․ Check plans from sources like Ana-White․com for inspiration․
Sources for Free and Premium Plans
Find free wall cabinet plans on Ana-White․com and Popular Woodworking․ For advanced designs, explore premium options on WWGOA․com, offering detailed 3D models and expert guides․
8․1 Websites Offering Free PDF Downloads
Access free wall cabinet PDF plans from Ana-White․com and Popular Woodworking․ These websites provide detailed step-by-step guides, materials lists, and 3D diagrams for DIY projects․ Ana-White․com offers easy-to-follow tutorials, while Popular Woodworking includes expert tips․ Download these plans instantly to start your project confidently and efficiently, perfect for beginners and intermediate woodworkers alike․
8․2 Paid Plans for Advanced Designs
Premium wall cabinet plans offer advanced features and detailed instructions․ Websites like MyWoodPlans․com and Woodcraft․com provide high-quality, paid PDF downloads with intricate designs, customizable options, and professional-grade tutorials․ These plans often include 3D diagrams, materials lists, and step-by-step assembly guides, making them ideal for complex projects or unique storage solutions․ Paid plans ensure precision and versatility for skilled woodworkers seeking advanced designs;
Safety Tips and Best Practices
Ensure safety by wearing protective gear and maintaining a clean workspace․ Proper tool handling and adherence to plans prevent accidents during wall cabinet construction․
9․1 Working Safely with Power Tools
Always wear safety goggles and a dust mask when operating power tools․ Ensure proper tool maintenance and keep work areas clean to prevent accidents․ Use push sticks or splitters for accurate cuts․ Avoid loose clothing and long jewelry that could get caught․ Keep children and pets away․ Follow manufacturer guidelines for tool usage and never work while fatigued․
9;2 Ensuring Structural Integrity
Ensure structural integrity by using French cleats for secure wall mounting and aligning cabinets with wall studs․ Drill pilot holes to avoid splitting wood and use clamps for tight joints․ Double-check all screws and fasteners for proper tightening․ Avoid overloading cabinets beyond their design capacity to maintain stability and safety over time․
Complete your wall cabinet project with confidence using detailed PDF plans․ Explore free and premium designs, then gather materials and tools to start building your ideal space․
10․1 Final Check Before Installation
Ensure your wall cabinet is structurally sound by verifying all cuts, joints, and hardware are secure․ Double-check alignment and leveling to guarantee proper installation․ Inspect all shelves and doors for smooth operation before mounting to avoid adjustments later․ This final review ensures a professional finish and safe use of your custom-built wall cabinet․
10․2 Encouragement to Start Building
Embark on your DIY journey with confidence! Building a wall cabinet is a rewarding project that enhances your space․ Whether you’re a beginner or an experienced maker, these plans guide you to create functional and beautiful storage solutions․ Gather your tools, follow the steps, and enjoy the satisfaction of crafting something custom to transform your home․