
Aventon Level 2 Manual: Comprehensive Guide (Updated 04/22/2026)
Unlock your e-bike’s full potential! This comprehensive guide details the Aventon Level 2, covering installation, operation, and maintenance for a superior riding experience.
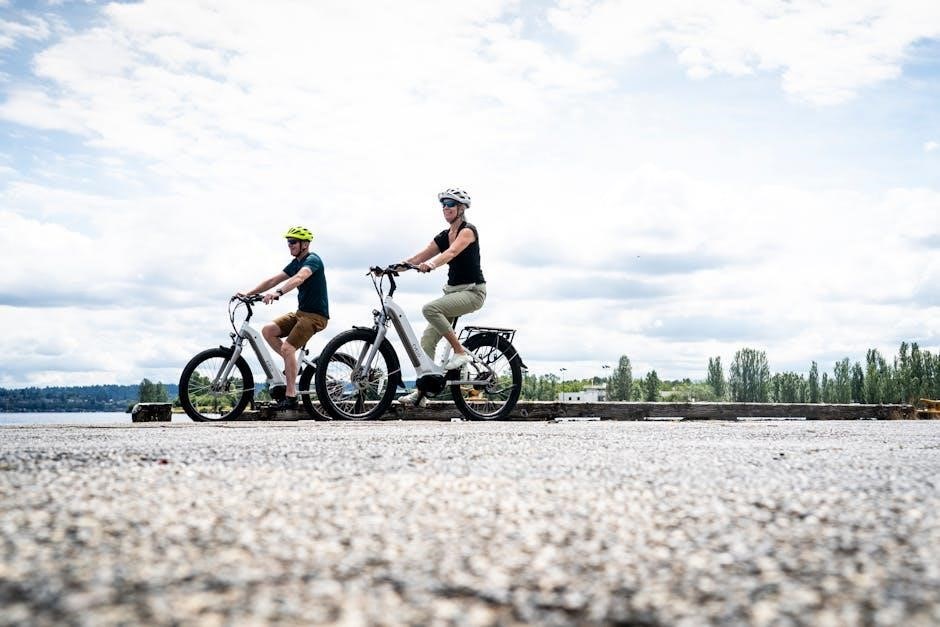
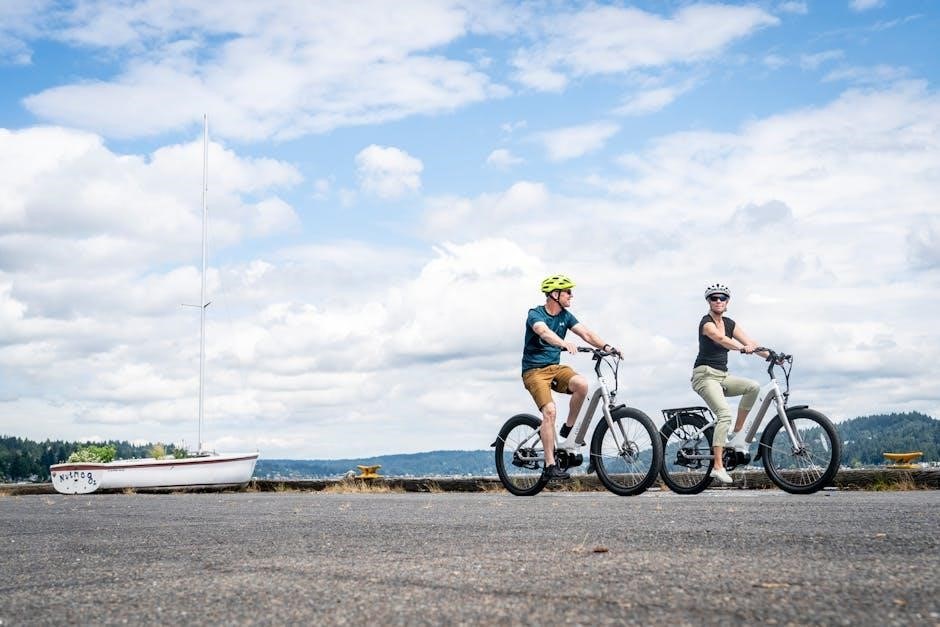
Welcome to the world of electric biking with the Aventon Level 2! This exceptional e-bike is designed to seamlessly integrate into your lifestyle, offering a blend of performance, comfort, and style. Whether you’re a seasoned cyclist or new to the e-bike scene, the Level 2 provides an intuitive and enjoyable riding experience.
This manual serves as your comprehensive guide to understanding and maximizing the capabilities of your Aventon Level 2. We’ll walk you through every aspect, from initial setup and assembly to operation, maintenance, and troubleshooting. Product mastery begins here, ensuring you get the most out of your investment.
The Level 2 isn’t just a mode of transportation; it’s a gateway to exploring your surroundings, commuting with ease, and embracing a healthier, more sustainable way of life. Prepare to rediscover the joy of riding!
What’s Included in the Box: Inventory Check
Before you begin assembly, please carefully verify the contents of your Aventon Level 2 package. Ensuring all components are present will streamline the setup process and prevent delays. This inventory check is a crucial first step towards enjoying your new e-bike.
Your box should contain the following: the Aventon Level 2 frame, front wheel, rear wheel, handlebars, seat post and saddle, battery, battery charger, pedal assist system (PAS) sensor, throttle, display panel, brake levers, shifters, and a comprehensive toolkit. Also included are all necessary cables, reflectors, and owner’s manual.
Important: If any items are missing or appear damaged, please contact Aventon customer support immediately. Do not attempt to assemble the bike with missing parts. A detailed packing list is included separately for easy cross-referencing. Retain all packaging until assembly is complete and you are satisfied with your purchase.
Understanding the Aventon Level 2 Components
Familiarizing yourself with the Aventon Level 2’s key components is essential for safe operation and maintenance. This section provides an overview of the major parts and their functions, helping you understand how everything works together to deliver a smooth and enjoyable ride.
The frame, constructed from durable aluminum alloy, provides the structural foundation. The motor, integrated into the rear wheel hub, delivers powerful assistance. The battery, typically mounted on the downtube, provides the energy source. The display panel on the handlebars shows speed, battery level, and PAS level.
Brake levers control the hydraulic disc brakes, ensuring reliable stopping power. Shifters manage the gears for efficient pedaling. The PAS sensor detects your pedaling and activates the motor. The throttle allows for on-demand power. Understanding these components will empower you to maintain and troubleshoot your e-bike effectively.
Frame and Fork Details
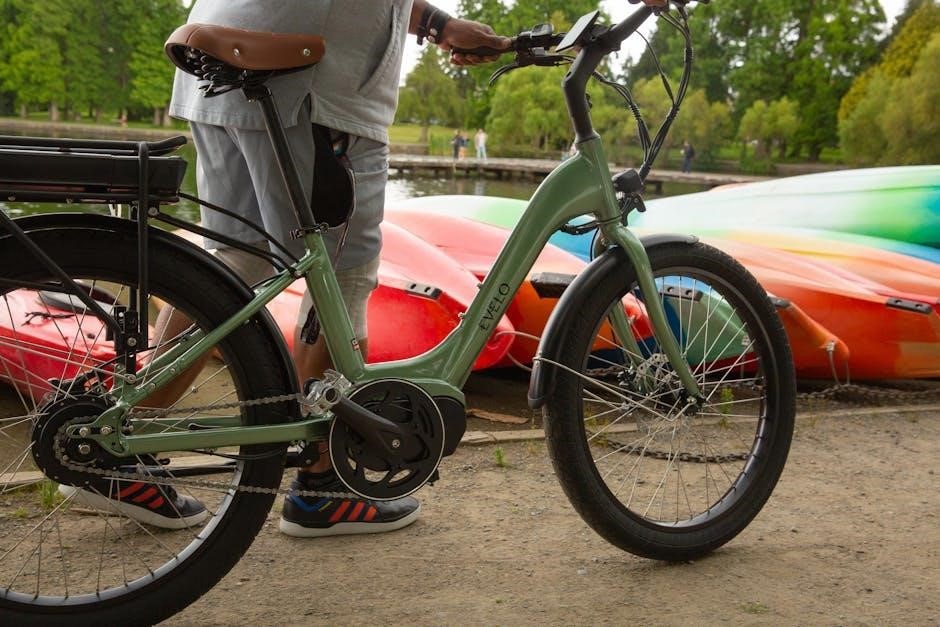
The Aventon Level 2 boasts a robust and thoughtfully designed frame and fork, contributing significantly to its stability and ride quality. The frame is constructed from 6061 aluminum alloy, offering a balance of lightweight performance and durability, capable of handling various terrains and rider weights.
The frame geometry is designed for a comfortable, upright riding position, ideal for commuting and leisurely rides. Internal cable routing provides a clean aesthetic and protects cables from the elements. The fork, also aluminum, features a suspension system designed to absorb bumps and vibrations, enhancing rider comfort and control.
Pay attention to the frame’s weight limit and regularly inspect for any signs of damage, such as cracks or dents. Proper frame maintenance ensures longevity and safe operation. Understanding these details will help you appreciate the engineering behind your Level 2.
Motor Specifications & Power
The Aventon Level 2 is equipped with a powerful rear hub motor, delivering smooth and reliable assistance. This motor features a nominal power output of 750W, providing ample torque for tackling hills and headwinds with ease. The motor is designed for efficiency, maximizing range and minimizing energy consumption.
Peak power output reaches 1120W, offering an extra boost when needed. The motor utilizes a direct-drive system, known for its quiet operation and low maintenance requirements. It’s important to understand the motor’s capabilities to optimize your riding experience and avoid overexertion.
Regularly check the motor connections and ensure they are secure. Avoid overloading the motor beyond its specified limits. Proper motor care extends its lifespan and ensures consistent performance, allowing you to enjoy the full potential of your Level 2 e-bike.
Battery Information & Charging
The Aventon Level 2 utilizes a high-capacity 48V 14.7Ah lithium-ion battery, providing a substantial range for extended rides. This battery is integrated into the frame for a sleek and balanced aesthetic. Understanding proper battery care is crucial for maximizing its lifespan and performance.
Charging is straightforward: connect the included charger to the charging port on the bike and a standard wall outlet. A full charge typically takes 4-5 hours. Always use the provided charger to avoid damaging the battery. Avoid charging in extreme temperatures.
Battery range varies depending on factors like rider weight, terrain, and pedal assist level. Store the battery in a cool, dry place when not in use. Regularly check the battery connections for corrosion. Proper maintenance ensures optimal battery health and reliable power for all your adventures.
Initial Setup & Assembly
Congratulations on your new Aventon Level 2! Before your first ride, careful setup and assembly are essential for safety and optimal performance. Begin by unpacking all components and verifying against the included inventory list – ensuring nothing is missing. We recommend assembling the bike in a spacious, well-lit area.
Initial steps include attaching the handlebars, front wheel, and seat post. Refer to the detailed diagrams in this manual for precise instructions. Tighten all bolts to the specified torque settings using appropriate tools. Do not overtighten, as this can damage components.
Before riding, inflate the tires to the recommended pressure (indicated on the tire sidewall); Inspect the brakes to ensure they are functioning correctly. A pre-ride safety check is vital. Take a short test ride in a controlled environment to familiarize yourself with the bike’s handling and controls.
Handlebar and Stem Installation
Proper handlebar and stem installation is crucial for steering control and rider comfort. Begin by loosening the stem bolts on the fork steerer tube – do not remove them completely. Carefully insert the fork into the head tube, ensuring proper alignment. Tighten the top cap bolt to pre-load the headset bearings, then tighten the stem bolts to the manufacturer’s specified torque.
Next, position the handlebars within the stem clamp. Center the handlebars and tighten the clamp bolts evenly in a criss-cross pattern. Avoid overtightening, which can damage the handlebars or stem. Ensure the brake levers and shifters are positioned comfortably for easy access.
Finally, double-check all bolts for tightness. Rotate the handlebars to confirm smooth, unrestricted steering. A properly installed handlebar and stem will provide responsive steering and a secure riding experience. Always prioritize safety and follow torque specifications.
Seat Post and Saddle Adjustment
Achieving optimal riding posture begins with correct seat post and saddle adjustment. Locate the seat post clamp and loosen it using the appropriate tool. Insert the seat post into the frame’s seat tube to your desired height, ensuring the minimum insertion mark is fully within the frame. Tighten the seat post clamp securely to prevent slippage during rides.
Saddle adjustments involve both height and angle. Adjust the saddle height so your leg is almost fully extended at the bottom of the pedal stroke. For angle, ensure the saddle is level or slightly tilted forward for comfort. Most saddles have rails allowing for fore/aft adjustment – position it to achieve proper weight distribution.
Regularly check the seat post clamp for tightness, as it can loosen over time. A properly adjusted seat and post enhance comfort, efficiency, and overall riding enjoyment. Prioritize a secure fit for a safe and controlled ride.
Wheel Installation & Tire Inflation
Proper wheel installation is crucial for safety and performance. Ensure the wheel is correctly aligned with the frame dropouts. For the rear wheel, carefully navigate the chain over the cassette. Securely fasten the axle nuts or quick-release lever, verifying they are tightened to the manufacturer’s specifications. Double-check for proper seating before riding.
Tire inflation significantly impacts ride quality and efficiency. Locate the recommended PSI (pounds per square inch) printed on the tire sidewall. Use a compatible pump to inflate the tires to the specified pressure. Underinflation leads to increased rolling resistance and potential pinch flats, while overinflation reduces grip and comfort.
Regularly inspect tires for wear and tear, and maintain proper inflation levels. A well-maintained wheel and tire setup ensures a smooth, safe, and enjoyable riding experience. Check tire pressure before each ride for optimal performance.
Operating the Aventon Level 2
Familiarize yourself with the Aventon Level 2’s controls before your first ride. The central display unit provides essential information like speed, battery level, and pedal assist level. Understanding these indicators is key to a safe and enjoyable experience.
Powering on the e-bike is typically done with a single button press, followed by selecting your desired riding mode. The Level 2 offers both pedal assist and throttle operation. Pedal assist provides motor support as you pedal, while the throttle allows for power without pedaling.
Experiment with the different pedal assist levels to find what suits your riding style and terrain. Start with lower levels for beginners and gradually increase as you gain confidence. Always be mindful of your surroundings and ride responsibly. Prioritize safety and enjoy the ride!
Powering On/Off and Display Functions
Initiating operation of your Aventon Level 2 is straightforward. Locate the power button, usually situated near the handlebar grip or integrated into the display unit. A firm press and hold for a few seconds will activate the system. The display will illuminate, showcasing vital ride data.
The display panel is your central hub for information. It typically shows speed, battery level, pedal assist level, and trip distance. Some models may include additional features like clock display or error codes. Use the control buttons on the handlebar to navigate through the display’s various functions.
To power off, repeat the process – a press and hold of the power button. Ensure the display is completely off before dismounting. Regularly check the display for any error messages and consult the troubleshooting section of this manual for solutions.
Pedal Assist System (PAS) Levels
The Aventon Level 2’s Pedal Assist System (PAS) offers varying levels of support, enhancing your riding experience. These levels adjust the motor’s assistance based on your pedaling effort. Typically, there are between three to five PAS levels available, selectable via buttons on the handlebar display.
Level 1 (Eco) provides minimal assistance, ideal for conserving battery and enjoying a more natural riding feel. Level 2 (Normal) offers moderate assistance, suitable for everyday commuting and moderate inclines; Level 3 (Sport) delivers substantial assistance, perfect for tackling hills or riding against strong winds.
Higher PAS levels require more battery power but provide greater assistance. Experiment with each level to find the optimal setting for your terrain and desired level of exertion. Remember to adjust the PAS level based on conditions to maximize range and efficiency.
Throttle Operation & Control
The Aventon Level 2 features a thumb throttle, providing on-demand power without pedaling. Located on the right handlebar, the throttle is controlled by gently pressing it with your thumb. The further you press, the more power is delivered to the motor, increasing your speed.
Initiating throttle use is straightforward: simply press the throttle inwards. Exercise caution, especially when starting, as the bike will accelerate. The throttle is particularly useful for navigating hills, starting from a standstill, or when you need a boost without pedaling.
Remember to be mindful of local regulations regarding throttle usage, as some areas may restrict or prohibit its use. Always prioritize safety and control when operating the throttle. Avoid sudden or excessive throttle input, and maintain a safe speed appropriate for the surrounding conditions.
Maintenance & Care
Regular maintenance is crucial for ensuring the longevity and optimal performance of your Aventon Level 2. Consistent care prevents issues and keeps your e-bike running smoothly. Begin with routine checks of tire pressure – maintaining the recommended PSI extends tire life and improves ride quality.

Inspect the brakes frequently for wear and proper function. Adjust or replace brake pads as needed. Keep the chain clean and lubricated with a bicycle-specific chain lubricant to minimize friction and prevent rust. Regularly check all bolts and fasteners to ensure they are tightened to the correct torque specifications.
Periodically clean the frame and components with a mild detergent and water. Avoid using high-pressure washers, as they can damage sensitive parts. Store your Aventon Level 2 in a dry, covered location to protect it from the elements. Following these simple steps will guarantee years of enjoyable riding!

Brake System Inspection & Adjustment
Your Aventon Level 2’s brake system is paramount for safety; therefore, regular inspection is vital. Begin by visually checking the brake pads for wear. If the pad material is thin or uneven, replacement is necessary. Inspect the brake rotors for damage – bends or grooves can significantly reduce braking performance.
Test brake lever travel. Excessive travel indicates potential air in the hydraulic lines or worn brake pads. For hydraulic brakes, bleeding may be required – consult a qualified bicycle mechanic if you’re unfamiliar with this process. Cable-actuated brakes should be adjusted to maintain proper tension.
Ensure the brake calipers are properly aligned with the rotors. Rubbing can cause premature wear and reduce braking efficiency. Regularly clean the rotors with isopropyl alcohol to remove contaminants. A properly maintained brake system provides reliable stopping power and enhances your riding experience. Prioritize brake health!

Chain Maintenance & Lubrication
Maintaining your Aventon Level 2’s chain is crucial for smooth shifting and prolonged drivetrain life. Regularly cleaning the chain removes dirt, grime, and old lubricant buildup, preventing premature wear. Use a dedicated chain cleaner and brush, or a mild degreaser with a soft brush, followed by a thorough rinse with water.
After cleaning, ensure the chain is completely dry before applying lubricant. Choose a high-quality bicycle chain lubricant specifically designed for e-bikes, as they often experience higher torque. Apply lubricant evenly along the entire length of the chain while backpedaling.
Wipe off any excess lubricant with a clean rag to prevent attracting dirt. A properly lubricated chain reduces friction, improves shifting performance, and minimizes wear on the cassette and chainrings. Inspect the chain for wear using a chain wear indicator tool; replace the chain when it reaches the recommended wear limit.
Tire Pressure & Wear
Maintaining correct tire pressure on your Aventon Level 2 significantly impacts ride quality, efficiency, and safety. Check tire pressure before each ride using a reliable pressure gauge. Recommended pressure ranges are printed on the tire sidewall – typically between 40-65 PSI, but adjust based on rider weight and terrain.
Under-inflated tires increase rolling resistance, leading to reduced range and a sluggish feel. They also increase the risk of pinch flats. Over-inflated tires can result in a harsh ride and reduced grip. Regularly inspect tires for cuts, bulges, or embedded debris.
Tire wear is indicated by a diminishing tread depth and visible wear bars. Replace tires when tread is worn or if damage compromises the tire’s integrity. Proper tire pressure and regular inspection extend tire life and ensure optimal performance. Consider tire sealant for added puncture protection.
Troubleshooting Common Issues
Encountering problems with your Aventon Level 2? This section addresses frequent issues. If the display doesn’t power on, check the battery connection and ensure it’s fully charged. A faulty connection or depleted battery are common causes. For motor issues, verify the PAS and throttle are functioning correctly; a loose connection can disrupt power.
Brake problems often stem from cable tension. Adjust cable tension if brakes feel spongy or unresponsive. If you experience unusual noises, inspect brake pads for wear. Display errors may require a system reset – consult the ‘Display Errors & Solutions’ section for specific codes.
Persistent issues should be addressed by a qualified e-bike technician. Do not attempt repairs beyond your skill level. Regularly checking connections and performing basic maintenance can prevent many common problems, ensuring a smooth and enjoyable ride.
Display Errors & Solutions
Decoding your Aventon Level 2’s display is crucial for troubleshooting. Error code “E05” typically indicates a motor communication error – try restarting the system. “E09” suggests a throttle malfunction; inspect the throttle connection and wiring. A “Low Battery” warning necessitates immediate charging to prevent damage and ensure optimal performance.
If the display shows no power, verify the battery is securely connected and fully charged. A flashing screen might indicate a system error requiring a full power cycle (turn off, wait, then on); For intermittent display issues, check for loose wiring or interference from other electronic devices.
Consult the full error code list in the appendix for a comprehensive guide. If an error persists after attempting these solutions, contact Aventon support for further assistance. Regular software updates, when available, can also resolve display glitches.
Motor & Battery Problems

Addressing motor issues on your Aventon Level 2 requires careful diagnosis. A clicking sound during operation could indicate a loose connection or internal motor problem – discontinue use and inspect. Reduced power output may stem from a low battery, but persistent weakness suggests a motor fault needing professional attention.
Battery concerns are equally important. If the battery isn’t charging, verify the charger connection and outlet. Excessive heat during charging is abnormal; immediately disconnect and contact support. Reduced range could be due to cold weather, riding style, or an aging battery;

Never attempt to disassemble the battery pack. For motor or battery malfunctions, contact Aventon’s customer service for authorized repair options. Ignoring these issues can lead to safety hazards and void your warranty.
Brake & Gear Issues
Maintaining optimal braking performance is crucial for safety. Squealing brakes often indicate worn brake pads, requiring replacement. A spongy brake lever suggests air in the hydraulic lines – professional bleeding is recommended. Regularly inspect brake cables for fraying or damage, and ensure proper adjustment for responsive stopping power.
Gear shifting problems can detract from your ride. Difficulty shifting could be caused by a misaligned derailleur or stretched/damaged cables. Ensure the cables are lubricated and properly tensioned. Hesitation during shifts might indicate a need for derailleur adjustment or chain lubrication.
Avoid riding with malfunctioning brakes or gears. For complex issues, consult a qualified bike mechanic. Regular maintenance and prompt attention to these components will ensure a smooth and safe riding experience on your Aventon Level 2.
Safety Precautions & Riding Tips
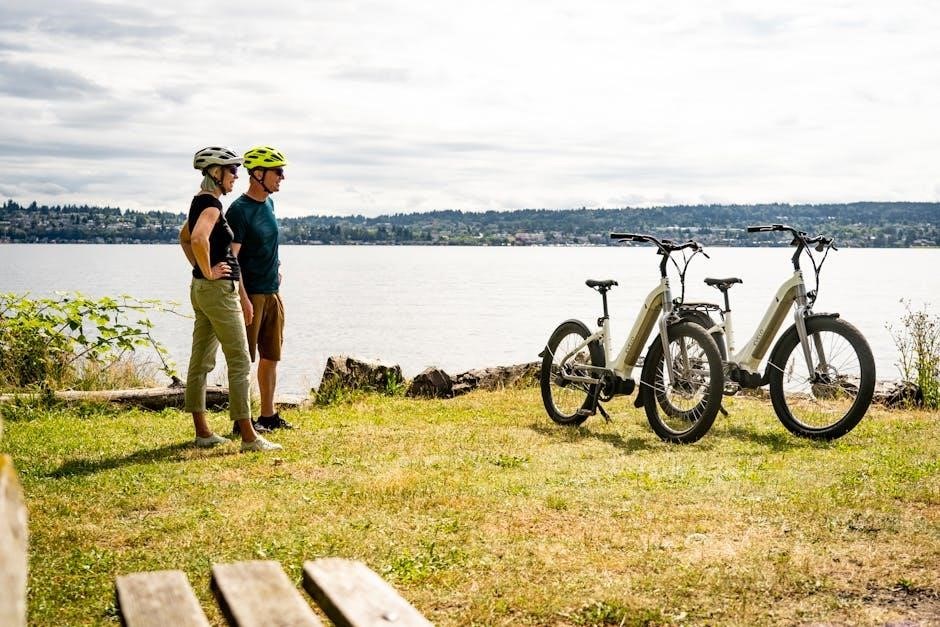
Prioritize safety with every ride! Always wear a certified helmet, and consider additional protective gear like gloves and eye protection. Before each ride, perform a quick safety check – brakes, tires, and battery connection. Be aware of your surroundings, anticipate potential hazards, and follow traffic laws.
Ride defensively and maintain a safe following distance. Use hand signals clearly to indicate turns and stops. Avoid sudden braking or acceleration, especially in crowded areas. Adjust your speed according to road conditions and visibility. Be extra cautious when riding in wet or icy conditions.
Familiarize yourself with the Aventon Level 2’s features and practice in a safe, controlled environment before tackling challenging terrain. Respect pedestrian right-of-way and yield appropriately. Enjoy the ride, but always prioritize safety!
Recommended Safety Gear
Enhance your riding experience and safety with essential gear. A certified helmet is non-negotiable – protect your head! Consider a full-face helmet for more aggressive riding. Gloves provide grip and protect your hands in case of a fall. Eye protection, such as sunglasses or clear lenses, shields against debris and glare.
Bright, visible clothing is crucial, especially in low-light conditions. A reflective vest or jacket significantly increases your visibility to motorists. Sturdy footwear offers support and protection for your feet. Consider cycling-specific shoes for improved pedaling efficiency.
Elbow and knee pads are recommended for more challenging trails or if you’re prone to falls. A bike lock secures your Aventon Level 2 when parked. Finally, a small repair kit with essential tools and a spare tube can save you from being stranded.
Local Regulations & Laws
Understanding and adhering to local e-bike regulations is paramount for safe and legal operation of your Aventon Level 2. Laws governing e-bikes vary significantly by state, city, and even specific trails. Check your local Department of Motor Vehicles (DMV) or equivalent agency for the most up-to-date information.
Pay close attention to speed limits for e-bikes, as these often differ from standard bicycle regulations. Many jurisdictions classify e-bikes into different classes based on their motor power and assisted speed. Be aware of where e-bikes are permitted – some trails and bike paths may restrict or prohibit their use.
Helmet laws also vary; always comply with local requirements. Familiarize yourself with rules regarding throttle operation and pedal assist usage. Ignoring these regulations can result in fines or legal penalties. Responsible riding ensures a positive experience for everyone.
Long-Term Storage Guidelines
Preparing your Aventon Level 2 for extended storage is crucial to maintain its performance and longevity. If storing for a month or more, fully charge the battery, then discharge it to approximately 50-60%. This prevents degradation during prolonged inactivity. Remove the battery and store it in a cool, dry place, ideally between 60-70°F (15-21°C).
Clean the entire e-bike thoroughly, paying attention to the chain, gears, and tires. Apply a light lubricant to the chain to prevent rust. Inflate tires to the recommended pressure to avoid flat spots. Store the bike in a dry, covered location, away from direct sunlight and extreme temperatures.
Periodically check the battery level during storage and top it up if it falls below 50%. Before resuming use, fully charge the battery and inspect all components for any signs of wear or damage. Proper storage safeguards your investment;